The Wacom brand is a key player in the drawing tablet market and offers three types of devices. From the cheapest to the most expensive, there are: pen tablets, interactive screens, and pen computers.
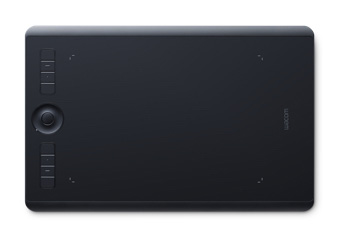
I’m reviewing the Wacom Intuos Pro Medium here, one of the most affordable models. It’s a pen tablet, which means you can draw on its active area using a digital pen, but it doesn’t have a built-in screen. Your digital work appears on a screen of a computer, to which the tablet is connected via USB or Bluetooth.
The Wacom Intuos Pro Family
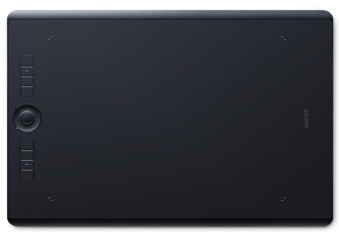
The Wacom Intuos Pro comes in several models of different sizes. The tablet that is being reviewed here is the Intuos Pro Medium (M). But there is also a smaller tablet, the Intuos Pro Small (size S) and a larger model, the Intuos Pro Large (size L).
All these tablets have the same technical specifications (which we will come back to). They differ only in size and number of ExpressKeys.
| Intuos Pro Small | Intuos Pro Medium | Intuos Pro Large | |
|---|---|---|---|
| Picture | 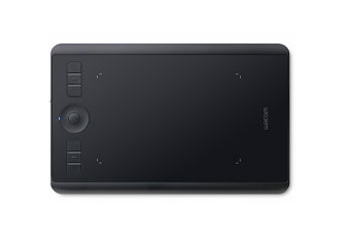 |
 |
 |
| Model Number | PTH460K | PTH-660-S | PTH-860-S |
| Size | 269 x 170 x 8 mm
(10.6 x 6.7 x 0.3 in) |
338 x 219 x 8 mm
(13.2 x 8.5 x 0.3 in) |
430 x 287 x 8 mm
(16.8 x 11.2 x 0.3 in) |
| Active Area | 160 x 100 mm
(6.3 x 3.9 in) |
224 x 148 mm
(8.7 x 5.8 in) |
311 x 216 mm
(12.1 x 8.4 in) |
| Weight | 460 g (0.99 lbs) | 700 g (1.54 lbs) | 1300 g (2.86 lbs) |
| ExpressKeys™ | 6 | 8 | 8 |
|
View at  |
View at  |
View at  |
Note that there are also 2 Paper Edition versions, available in size M or L. These tablets enable you to draw on a sheet of paper, which is placed on the active area. These tablets enable you to draw on a sheet of paper, which is placed on the active area. When you use a special pen, the Wacom Finetip Pen (which is different from the stylus), your drawings will be automatically converted into digital files. The advantage over drawing on paper is that you can easily break down your sketches into several layers.
Unboxing and Getting Started
The first thing you notice when you discover the Intuos Pro is the build quality. The tablet is made with premium materials, namely black anodized aluminum and fiberglass composite resin. This makes it a bit heavier than other tablets of similar size, but on the other hand it feels very sturdy despite its 8mm thickness.
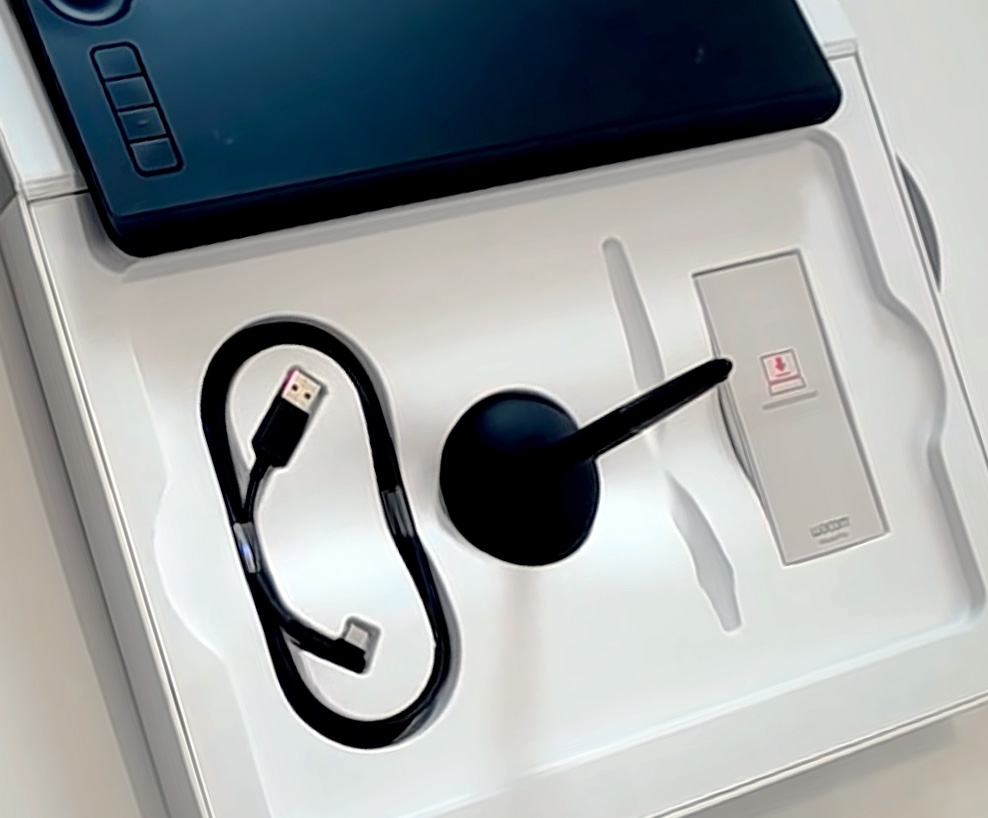
All Wacom Intuos Pro tablets come with the Wacom Pro Pen 2, which comes with six standard nibs, four felt nibs, and a pen holder that doubles as a storage box for the nibs.
With the M and L versions, there are also 4 colored rings that allow you to further customize the stylus. The purpose is to be able to differentiate between pens when you have more than one and if they have different settings.
Wacom also provides a USB cable, with a USB-C connector on one end, which plugs into the tablet, and a USB-A connector on the other, for linking to a PC or Mac.
Finally, the box contains a quick start guide that explains how to take your first steps with the tablet. The procedure is very simple. Before first use, the tablet must be connected to a PC or Mac using the supplied USB cable. IThen you have to install the drivers that can be downloaded from the Wacom website: Driver for Windows | Driver for Mac. If you are using a PC, you will need to restart your computer.
Along with the drivers, a companion software is installed: the Wacom desktop center (to which we will return in more detail later). At the first start, this software will allow us to choose the orientation of the tablet: for right-handed or left-handed. Then, it allows you to check the charge level of the tablet, and to edit its configuration (shortcuts, pen settings, etc.).
Wired or Wireless Connectivity
All Wacom Intuos Pro tablets can connect to the PC/Mac in 2 ways. First, one can simply use the supplied USB cable, which is about 2 meters (6.5 ft) long. But more importantly, it is possible to use the integrated Bluetooth to establish a wireless connection. The battery life is very good: it can last several days, even with intensive use.
The issue is that the battery is not replaceable, unlike older versions of the Intuos Pro (2017). And since all batteries have a lifespan limited to a few years, well this reduces the longevity of the tablet, or at least its wireless use. What a pity!
Using the Intuos Pro Medium
Now comes the long-awaited moment to start a new project. Like all pen tablets, the Wacom Intuos Pro allows you to digitally draw or edit photos with great precision, using a pressure-sensitive pen.
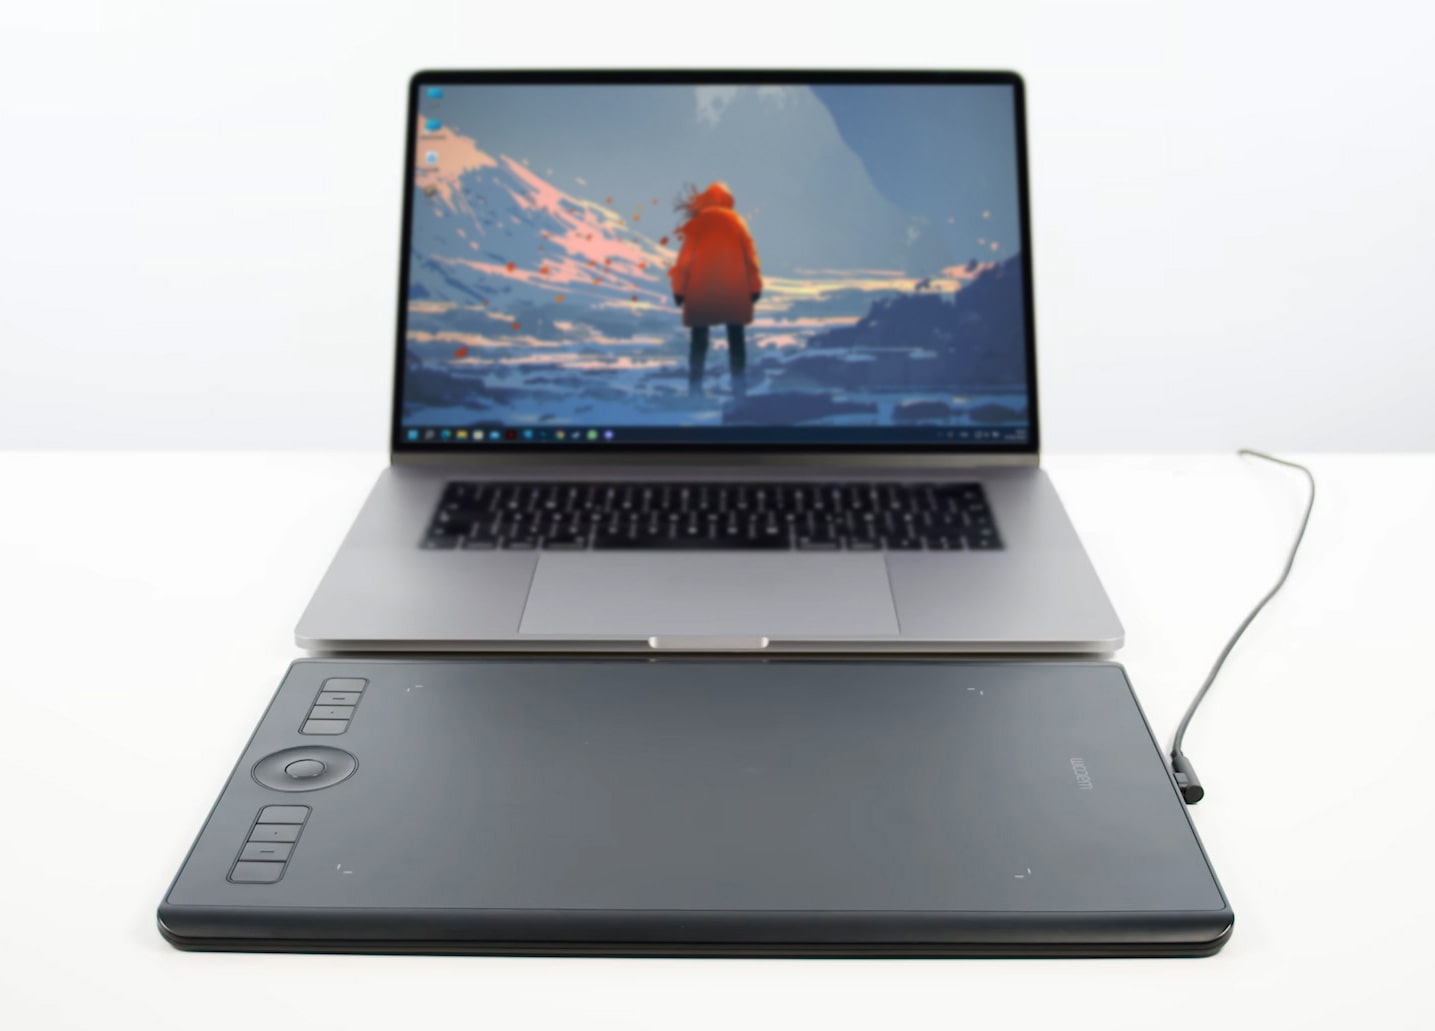
The tablet is really pleasant to use, both on the desk and lying on my thighs. On the back of the device, rubber studs help keep the Intuos Pro securely in place when placed on a smooth surface.
The drawing surface is textured to give a slight resistance to your pen. This gives the impression of drawing on a sheet of canson paper, a very pleasant feeling. However, this does not prevent the nib from sliding smoothly over it. But if this does not suit you, you should know that it is possible to change the default surface. Indeed, Wacom sells replacement textured sheets (only for the M and L models), which generate varying resistance to the pen tip.
The stylus that comes with the tablet is the Wacom Pro Pen 2, and the least we can say is that it is of excellent quality. The grip is comfortable, even during long work sessions. The pen reacts very well to pressure (8192 pressure levels in both pen tip and eraser), and the tilt detection is impeccable. This means that your lines will be as precise as with a real pencil. No risk of making wavy or irregular lines with this tablet!
It is important to note that the pen works without a battery, and therefore does not require charging. There is no lag when using the tablet on USB. On the other hand, in Bluetooth mode, there is a slightly noticeable latency. This is not a problem when doing photo editing, but it is perhaps better to use USB for digital painting.
Finally, a word about using a screenless tablet. The first steps on this kind of device can be a bit confusing, but you get used to it relatively quickly. My advice? For the first few days, when you’re on your computer, stop using the mouse. Use only the Intuos Pro, even for office work or web surfing. After 2 or 3 days, things will become intuitive and you’ll wonder how you ever got along without a pen tablet.
Multi-Touch Gestures, a Feature Only Available in the Intuos Pro Line-up
Unlike the non-pro Intuos models and the One by Wacom series, the Intuos Pro supports multi-touch. This means you can use your fingers to do different actions, which are fully customizable.
I use it mostly to pan by touching the active surface with two fingers, then sliding them to scroll the screen. I also use it a lot to rotate: a slide of the thumb and index finger is enough to place the sheet in the desired orientation.
You can also use the multi-touch to zoom, but in this case I find it a little more hesitant, less fluid. I prefer to use the ExpressKeys.
Using shortcuts
This brings us to the buttons accessible on the tablet. On the side (left for right-handers, right for left-handers), you have access to eight keys called ExpressKeys and a central Touch Ring, to which you can assign shortcuts such as zoom in, zoom out, scroll, undo, etc.
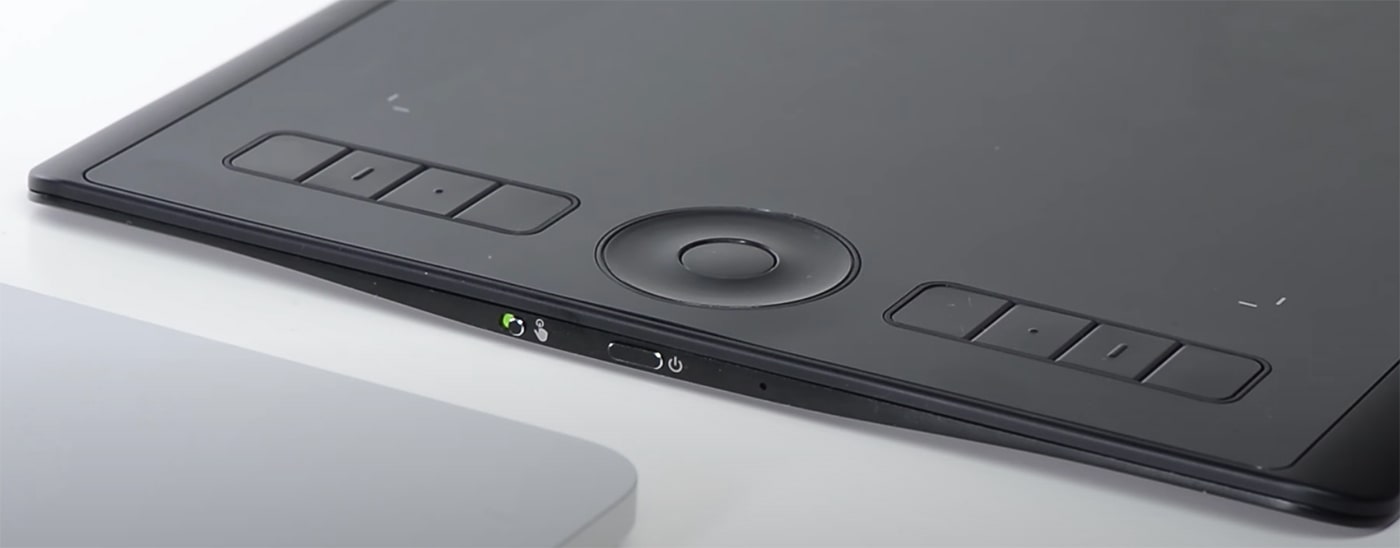
Note that some ExpressKeys are marked so you can recognize them by feel without looking up from the screen, and that the Wacom Pro Pen 2 is also equipped with two side buttons, which can be operated with a simple press of the thumb.
Everything is fully customizable according to your desires and habits, and you can define different profiles depending on the software used with the tablet. It’s all set up in the Wacom control panel. You have to select the software on which you want these changes to be applied. Then, it is quite simple. The most common functions (zoom, undo, etc.) are already available, so all you have to do is select them. But you can also add all the key combinations you want (for example Ctrl + T to manually transform a layer in Photoshop ).
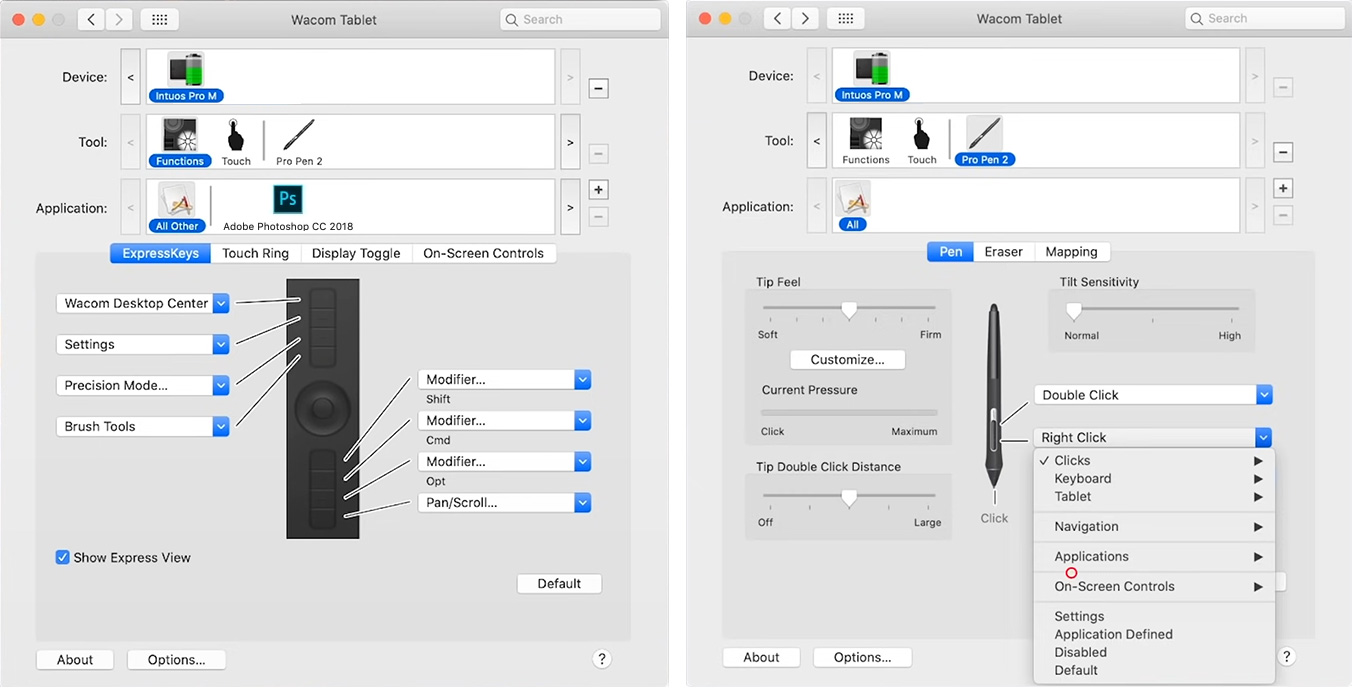
Once everything is in place, working with the Intuos Pro graphics tablet becomes really smooth. Personally, I find the precision mode and layer switching very convenient. But my favorite part is definitely the brush width setting on the Touch Ring. Swiping left decreases the size of my brush. Sliding to the right increases it. I almost don’t have to lift the stylus, everything happens almost instantly, I love it!
And for those who still don’t have enough shortcuts, Wacom has also provided on-screen controls such as the radial menu, which gives access to 8 features or options, again fully customizable.
Some will prefer to use the on-screen controls, others the ExpressKeys or pen buttons. What is certain is that the possibilities are ample enough to satisfy everyone.
My Opinion on the Wacom Intuos Pro Medium Tablet
- Modern design and great build quality
- The active surface, pleasantly textured
- The stylus, comfortable, responsive and precise
- Productivity benefits from ExpressKeys
- Many customization options
- Wireless connectivity
- The price, higher than the competition
- The battery that is not replaceable
- The slight latency in Bluetooth mode


